So the other day, someone brought Twinkies into the office and someone suggested that I make Baileys Twinkies. So here we are. I will say, it took a long time to develop this recipe and I’ve basically been covered in chocolate for two weeks straight, so despite the fact that these really are delicious, this post may not be super enthusiastic about how delicious these are.
I swear they are delicious, and despite having a lot of steps, they come together fairly quickly. Don’t be intimidated by them. If you’re new, I’ll hold your hand through it. These are chocolatey and light and moist. The filling with the marshmallow is perfect and there are so many resources out there that make it possible to make these with or without some supplies.
So things that’ll make this helpful: if you are lazy and willing to spend money rather than make molds with aluminum foil as laid out by Brown Eyed Baker, you can buy this cream canoe pan kit. It comes with a frosting thing which makes filling the cupcakes easier, but you can also just use a ziplock bag, or a piping bag, plus a piping tip like this. You can also just make these in a muffin tin! They’ll lose a little novelty but taste just as good! Also helpful, a hand mixer or a stand mixer and a rubber spatula, something flexible to mold to the bowl.

Alright, now that we’re done with equipment, let’s move on to actually making these delicious Baileys Twinkies.
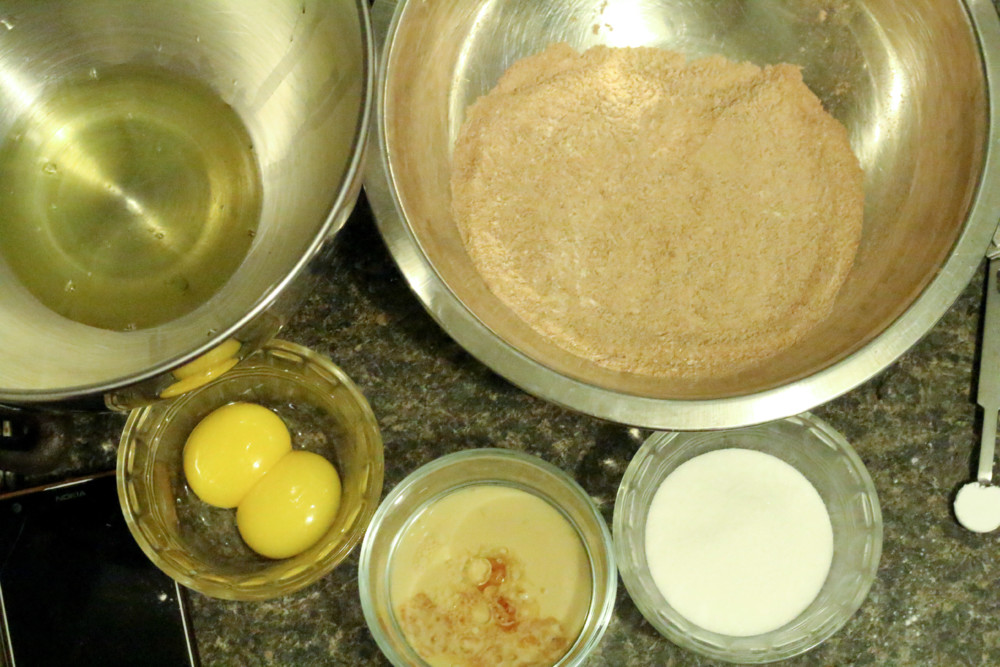
I recommend first, getting all your ingredients together in all their bowls. It helps things run more smoothly and everything goes way faster. Also, I tend to notice an eggy taste with sponge cakes like this. I found that removing the chalazae, the white things connected to the yolk, takes the eggy taste away.
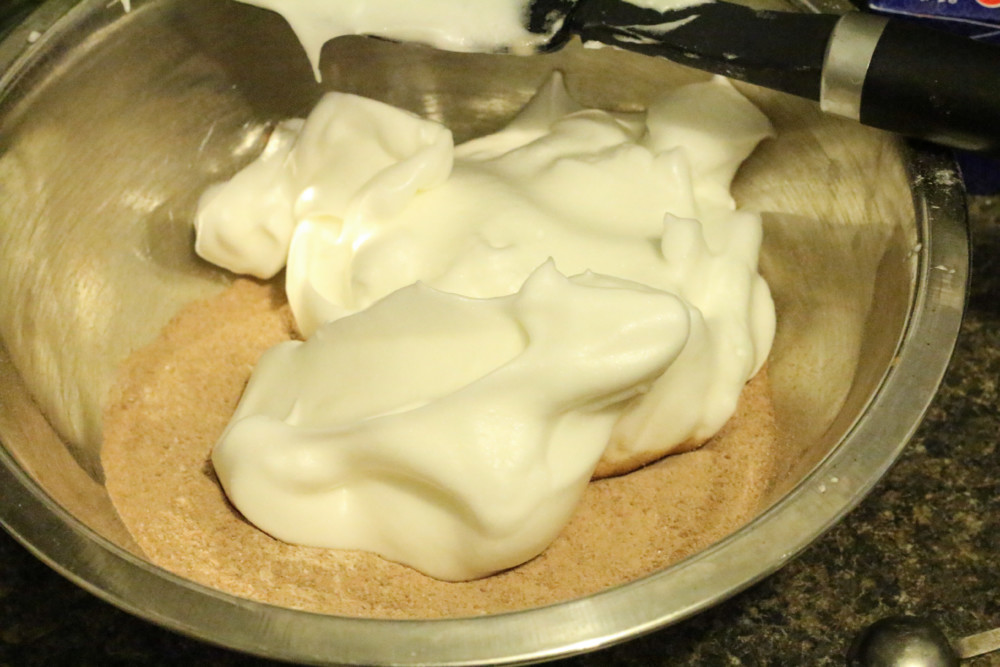
Then, whip your egg whites to stiff peaks with the sugar and cream of tartar and add to the dry ingredients. You add the sugar and the cream of tartar when the eggs reach foamy stage. They basically look like a stable marshmallow fluff.
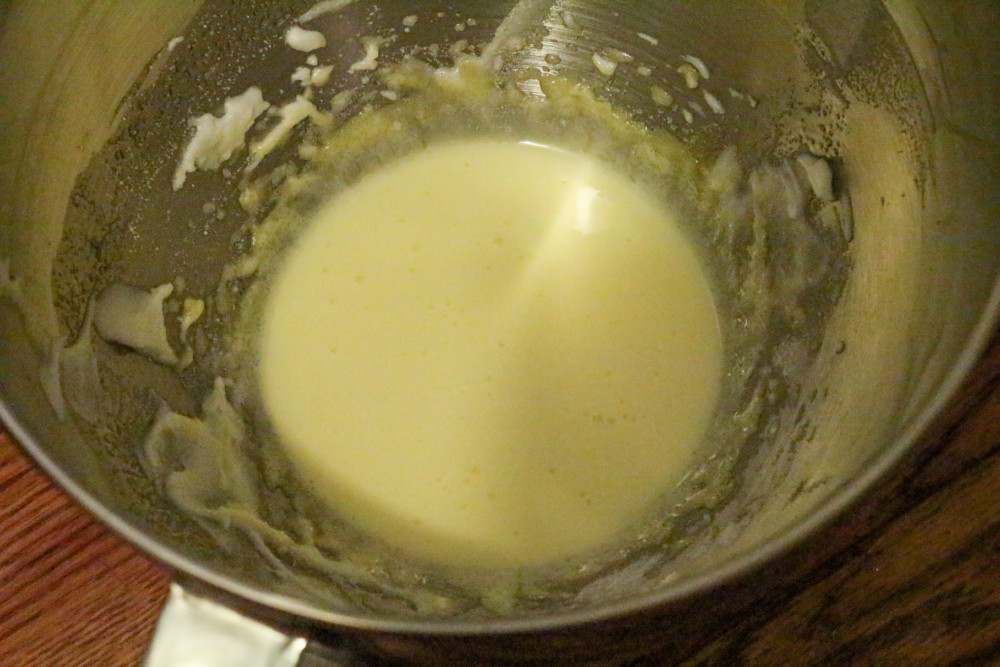
Then whip up the yolks and remaining sugar until pale lemon.
Then you add the dry and the egg whites and fold it all together with about 10 strokes. It’ll be dry and swirly like this:

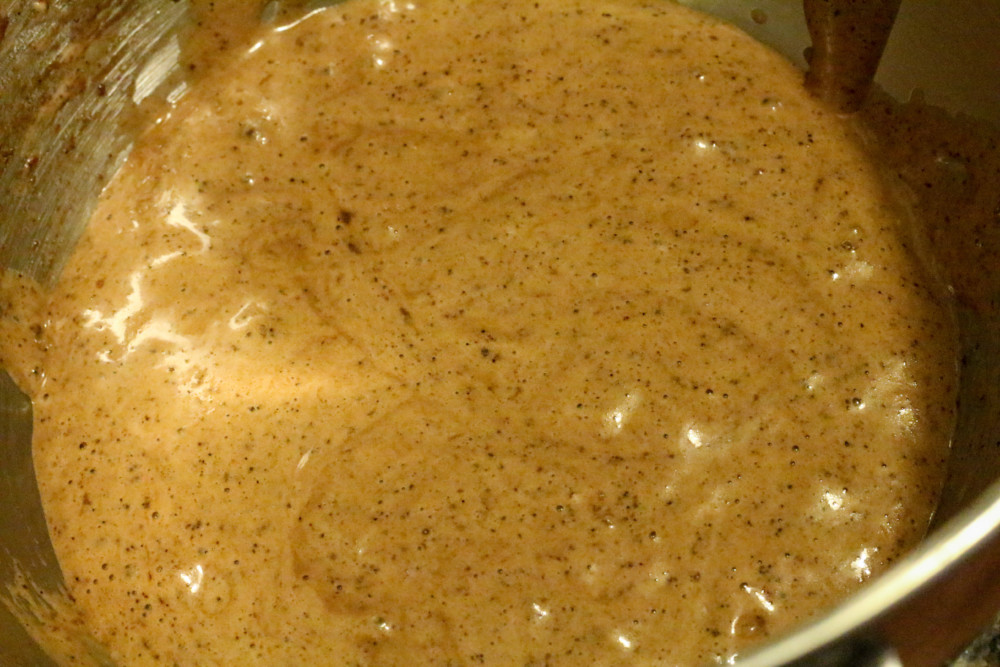
And you add the wet ingredients and continue folding. You want to fold to keep the fluffiness of the egg whites, but you want to combine it well. It’ll take about 30 strokes to get it nice and smoothly combined. Make sure you do get to the bottom of the bowl and get the sides.
Then, I use an ice cream scooper to evenly scoop the batter into the tray. You only want to fill them half way as they puff a lot and a scoop is just perfect for that.
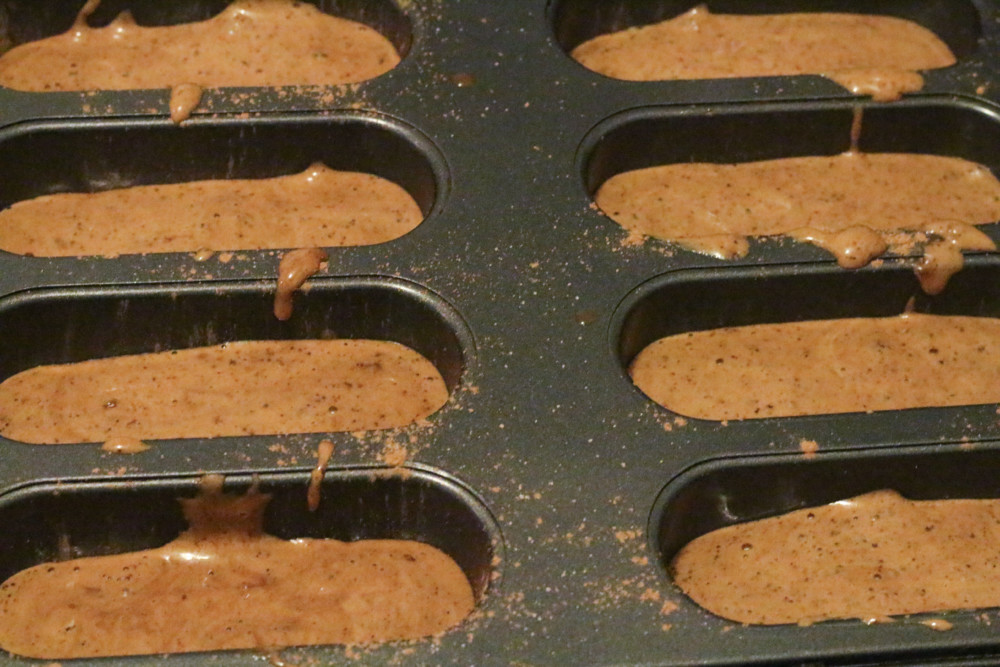
Then bake for 13-15 minutes (14 was perfect for me but every oven varies), and take them out when they spring back when you touch them. Allow them to cool in pan for 10 minutes before taking them out and brushing them with Baileys.
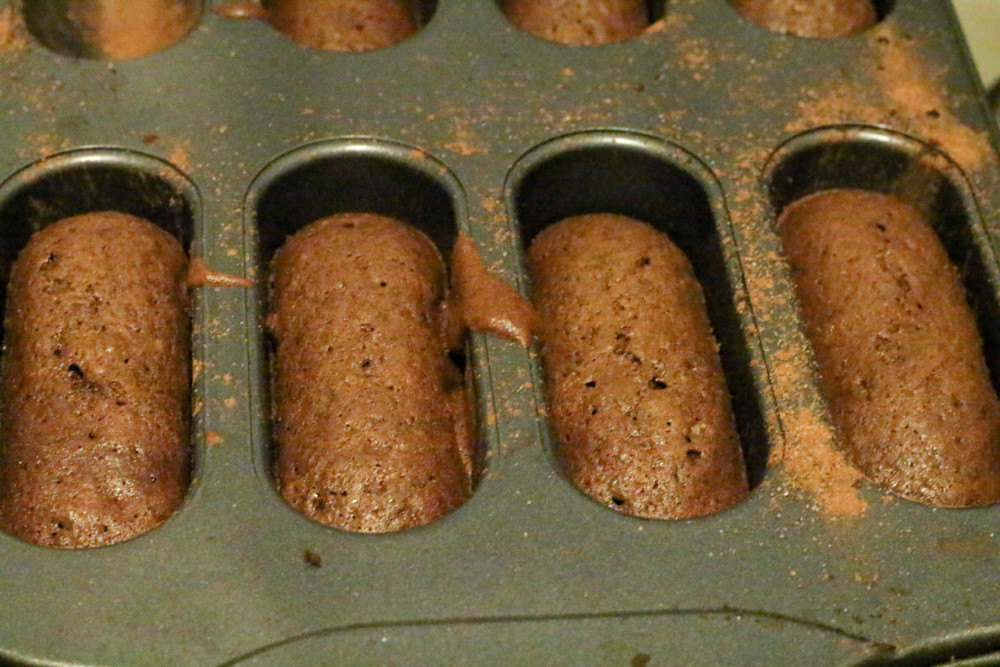
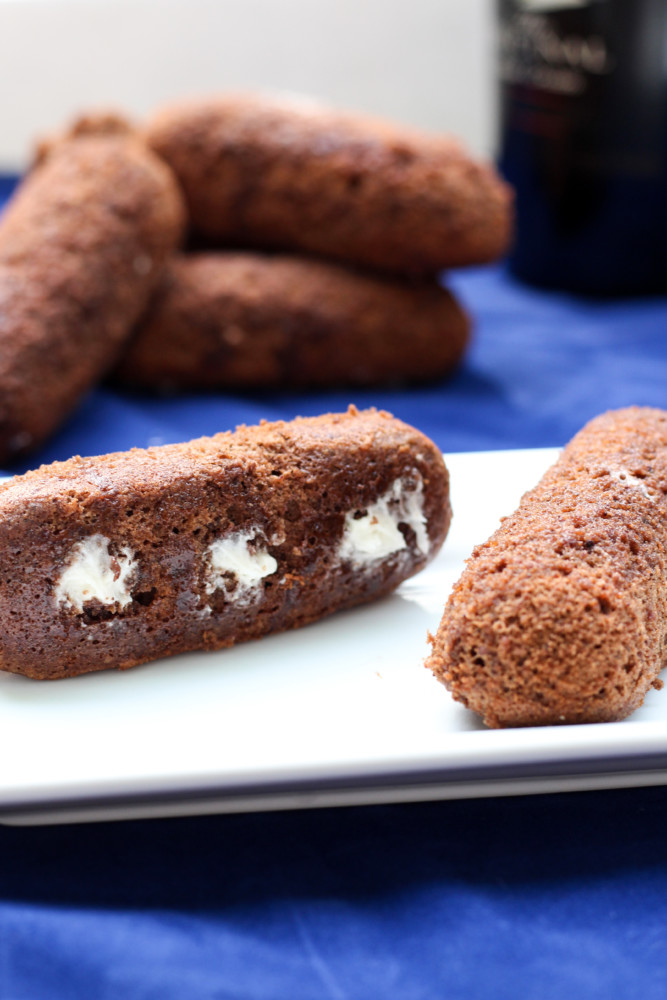
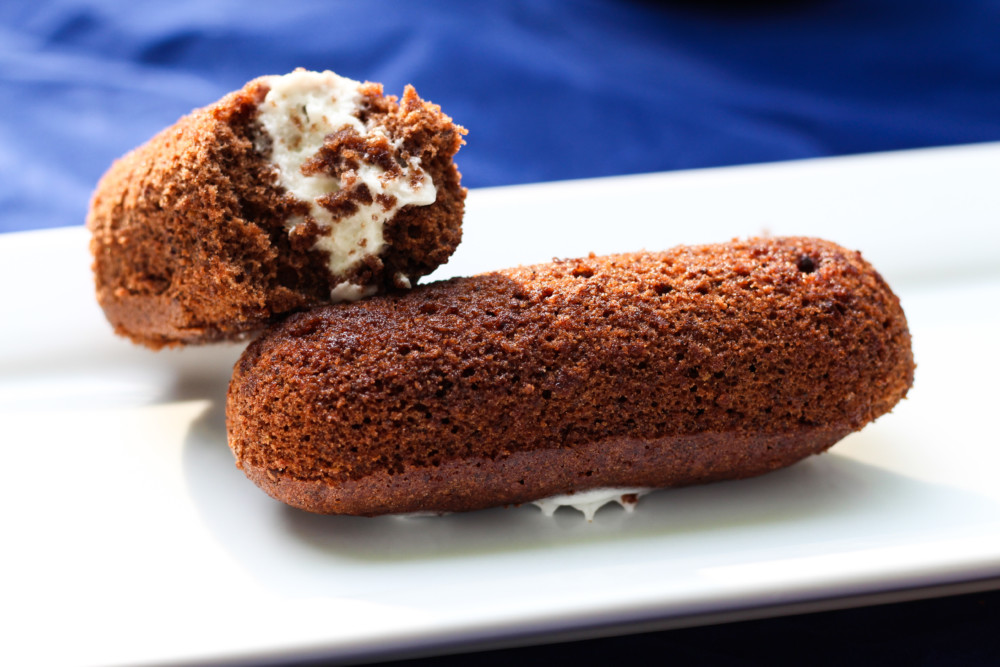
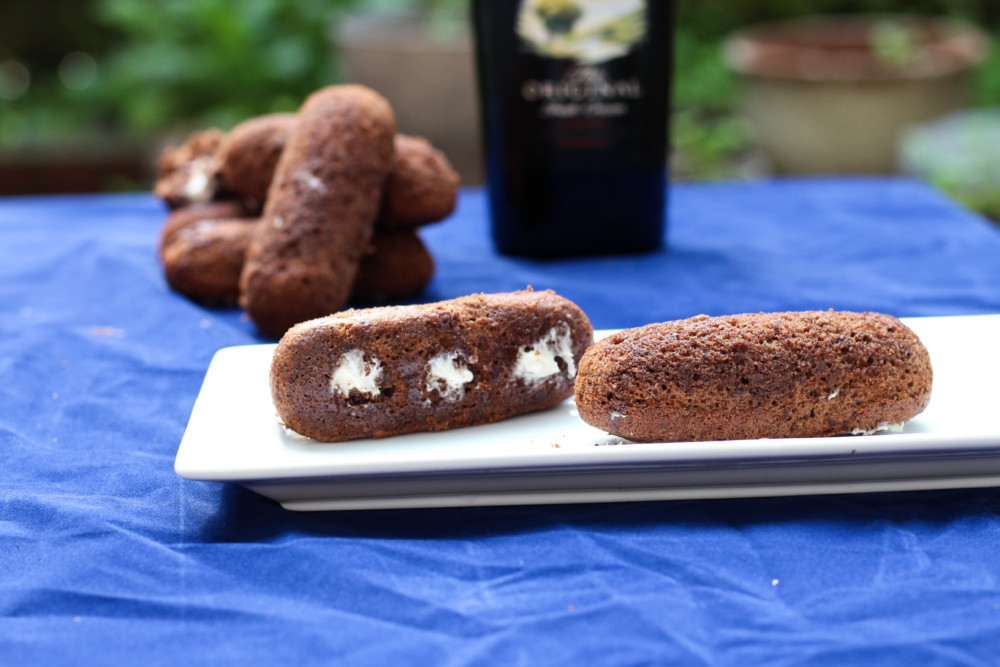
Then you stab the bottom with holes like a twinkie and fill with a good amount of marshmallow frosting filling. And boom, baileys twinkies.

Ingredients
- Vegetable oil
- 1/2 tsp cocoa powder
- 1/2 tsp sugar
- 1/2 cup flour
- 1/4 cup cocoa powder
- 1/2 tsp baking powder
- 1/4 tsp salt
- 1/2 tsp espresso ground coffee
- 3 tbsp vegetable oil
- 3 tbsp Irish Cream
- 1/2 tsp vanilla extract
- 2 eggs, room temperature
- 6 tbsp sugar, divided
- 1/4 tsp cream of tartar
- Extra Irish Cream for brushing over warm cakes
- 2 tbsp butter, room temperature
- 1/2 cup powdered sugar
- 1/4 cup marshmallow fluff
- 1 tbsp Irish Cream
Instructions
- Preheat the oven for 350F and if you're using a cream canoe pan, combine the sugar and cocoa powder, oil the pan, and sprinkle each cavity with the sugary cocoa mixture. Otherwise, follow brown eyed baker's advice on making twinkie containers, or use a muffin tin.
- In a medium bowl, sift together the flour, cocoa powder, baking powder, salt, and espresso
- In a microwave safe small bowl, combine the vegetable oil, Irish Cream, and vanilla extract
- Separate the room temperature eggs into two bowls (if you're pulling your eggs from the fridge, put them in a bowl of luke warm water for 5-10 minutes to get them up to room temperature) - the egg whites in the bowl of a stand mixer or hand mixer friendly bowl, and the yolks in a separate small bowl. If you're sensitive to "eggy" tastes, make sure to remove the chalazae from the yolk and it'll help.
- Using a stand mixer (at medium high speed or 6) with a whisk attachment, or a hand mixer, whip the egg whites until foamy and gradually add half the sugar and the cream of tartar. Beat until stiff peaks form.
- Transfer the egg whites to the bowl with the dry ingredients, then add the egg yolks to the stand mixer bowl (don't worry about cleaning the bowl, it's ok if some egg whites remain). Whip the egg yolks with the remaining 3 tbsp of sugar until they're a pale lemon color. Add the dry ingredients and the egg whites to the yolks and, using a rubber spatula, fold and mix about 10 times. They won't combine nicely but that's fine.
- Microwave the oil, baileys, and vanilla for 20 seconds and add to the stand mixer bowl with the rest of the ingredients. Using the rubber spatula, continue to fold the ingredients about 30 times until smoothly combined. Don't stir, you want to keep the eggs puffy and inflated, using a folding motion will help with this.
- Fill each cavity of your pan 1/2 way (using an ice cream scooper helps with this. Fill each with one scoop full of batter), and bake for 13-15 minutes (14 was perfect for me). Then allow to cool in pan for 10 minutes before transferring to a wire rack.
- Brush the top (the top is the part that was down in the pan) of each warm twinkie with some Irish Cream.
- While the twinkies are cooling, make the filling by combining all the ingredients and stirring until smooth and fluffy.
- Take the cooled twinkie and, using a toothpick or a chopstick, stab three holes in the bottom and work around inside to clear away some of the cake to make room for the filling. The more you poke out the more room for filling. Using a piping bag with a long tip, or that inserter tool from the canoe pan kit, fill each twinkie in the three holes. be generous!
- Make sure to store these in either a ziploc bag or air tight container until ready for consumption.
Helpful but not necessary equipment: